Those of you who are baking experts, look away now as you will be absolutely appalled by this
marble cake recipe. This must have been the first cake that needs an oven that I ever tried making, in fact I don't think I have tried any others ever since, I just stick to this one. This is perfect for clumsy inexperienced bakers like me, it's so easy.
I lie, I tried muffins, it was a disaster, anyone got a fail-proof recipe?
I digress, I can actually make one other chocolate cake, my no-bake biscuit cake. That's it. I don't think I was born to bake but I was clearly born to eat cake, above all chocolate cake so, every once in a while the need to bake rises (so do my toddler's requests for cake).
29-11-2014 *I have changed the top photo and a couple of the instructions but not the wording, I have (since writing this post) learnt to bake a bit more, only a bit mind.
Once you know how to make marble cake, it becomes so easy, you can make it really quickly. My daughter loves helping with this one and is in fact geting so good at it that she even tells me off when I get it wrong*
Really Easy Marble Cake Recipe
Ingredients
- 225 g unsalted butter
- 225 g self-raising flour
- 225 g caster sugar (I've been trying to get the sugar down, 200 g perfectly, even 180 g)
- 4 eggs
- 3 tablespoon whole milk
- 1 teaspoon vanilla extract
- 2 tablespoons cocoa powder and a bit more for luck
Equipment
2 mixing bowls, a whisk, 2 spoons, a frying pan/saucepan, 20 cm cake tin, parchment paper
Method
1. Preheat the oven to 180º C. Now, every oven is different but this is what works on our fan oven and in our previous non-fan it was more like 200º.
2. Start melting the butter in a sauce pan or frying pan.
3. In the meantime place all the other ingredients (I start with the dry ingredients) except the cocoa in a large mixing bowl. When the butter has pretty much all melted, add it to the bowl and whisk all the ingredients at a good speed* for about a minute until it's all mixed and it has a good consistency, thick but runny.
4. Grab the other bowl and pour half of the mix into it. Add the cocoa to one of the bowls and mix well.
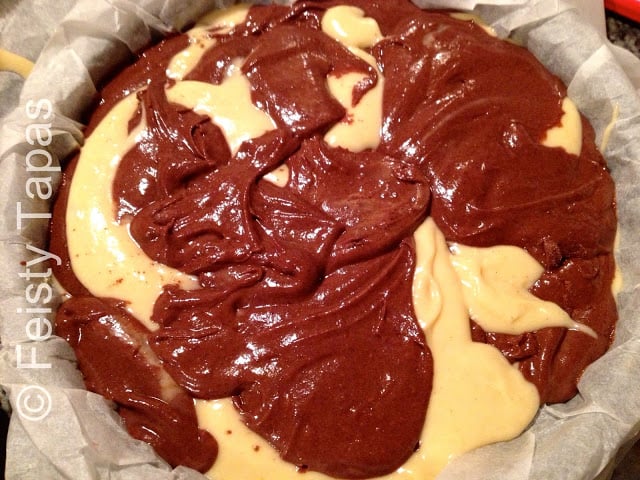
5. Line the cake tin with the parchment paper, ensuring you have at least a couple of edges overhanging to pull it out easily later, and alternate spoonfuls (or splodges, whatever you prefer) from each bowl, making sure you don't mix the spoons (use one spoon per mix). Once it's done, lift it up and tap it against the table to make sure the mix spreads well, then draw a couple of swirls with a skewer.
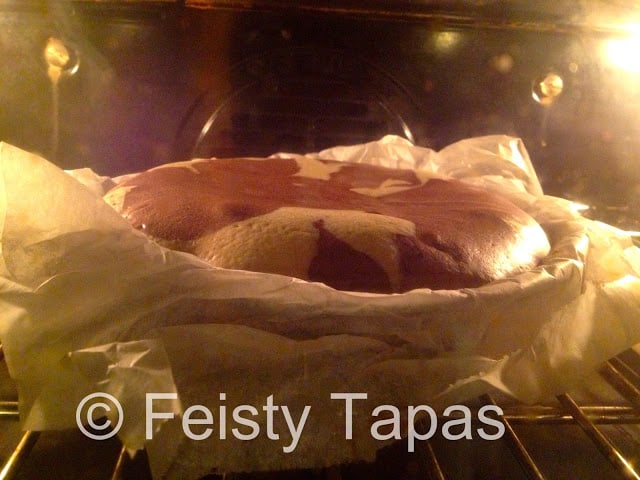
6. Place in the oven for 45-50 minutes. You can check that it is ready by inserting a skewer. When the skewer comes out clean, the cake is ready to come out of the oven. I like it with a lovely crust so I tend to increase the oven temperature in the last 5-10 minutes (when I remember). Get it out and let it cool down (it's better if you do but we have had it warm before and it's not bad!).
There you go, baking goddess I am not but, if I can make this marble cake, so can you!
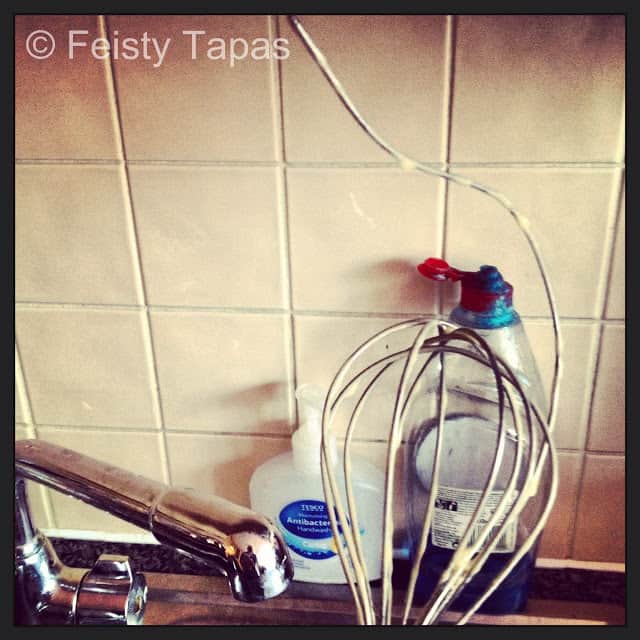
*I broke the whisk the last time I made marble cake, see?





Leave a Reply