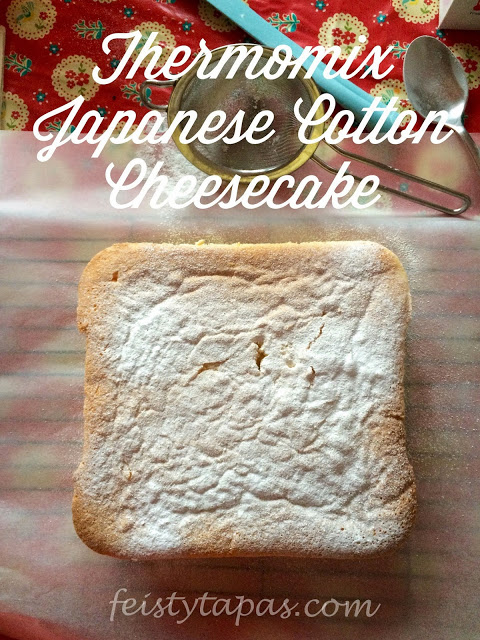
There has been a lot of talk about Thermomix Japanese Cotton Cheesecake in my Thermomix Owners UK Facebook group ever since Patricia posted a photo of hers (which she got from the Webos Fritos blog).
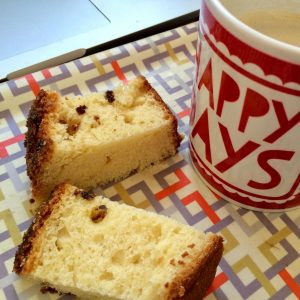
I absolutely adore this cake, it is not a cheesecake per se, the cotton part refers to its amazing soft touch and texture. It is very hit and miss with people though, the little Tapita (now 4 and a half, yikes!) and my husband didn't like it but a couple of the school run mums loved it.
Now, before starting to cook I generally like to lay out all the ingredients in bowls. It keeps me sane and it means that (when distracted by a child, email or door bell) I always can remember what has already gone in and what hasn't by looking at what is missing. This is one of those recipes where having all ingredients laid out comes in handy and makes it much faster.
If you're in the UK with your Thermie make sure you come join me at the coolest Facebook group, Thermo Cooking UK with Feisty Tapas. We are a bit random, a bit thermogeeky, a tad gadget obsessed but, most of all, we are a fun, supportive, independent Thermomix group.
Before scrolling down to the recipe, let me give you a hint of what's coming up on the blog soon.
 |
| What? More cake? Oh yes! And this time with quark, you will find the recipe for Thermomix Quark Cake here. |
Japanese Cotton Cheesecake
Ingredients
- 6 large eggs
- 140 g of caster sugar (or, of course, sugar of your choice, I have also tried it with golden sugar/raw sugar)
- 1 teaspoon of cream of tartar
- 250 g full-fat cream cheese (Philadelphia style, I used Waitrose own)
- 50 g butter at room temperature
- 100 g whole milk
- 60 g plain flour
- 60 g corn flour (or Maizena from Ocado and probably French or Spanish shops)
- 1 tablespoon fresh lemon juice
- A pinch of salt
- Icing sugar to decorate
Equipment
A square Pyrex dish or a suitable square mould, approx 20 x 20 cm (but you can use a round one if you don't have square of course). Remember, it's best if it's an
A deep oven tray filled with water, big enough to house the above Pyrex or mould for a bain Marie. If you feel bain Marie may not be suitable for you for any reason, bake it as normal just by placing it on the oven rack, it's not the same texture though (I've tried it both ways). Bain Marie is best.
MC stands for Measuring Cup
Method
1. Fill (about half full, you can top up later), a deep oven tray big enough to house the Pyrex dish / cake mould and place in the oven, start preheating to 160ºC.
2. Grease the Pyrex/mould with butter or line it with parchment paper. The cake shrinks when it cools down so it's easy to pop out carefully.
3. Separate the egg whites from the yolks. Reserve the yolks in a bowl.
4. Make sure the bowl is clean and dry, fit the butterfly and beat the egg whites (just the egg whites): 3.5 minutes, speed 4, MC off. Once it's running, add the teaspoon of cream of tartar and the 140 g sugar gradually through the hole in the lid (remember the measuring cup is off for this bit), about a teaspoon at a time, slowly. Reserve in a big mixing bowl.
5. Leave the butterfly whisk in and add to the TM bowl 250 g cream cheese, the 50 g butter, the 100 g whole milk: 5 minutes, speed 3.
6. Remove the butterfly, add the 60 g plain flour, the 60 g corn flour, the egg yolks, the tablespoon lemon juice and the pinch of salt: 2 minutes, speed 3.
7. Pour the cream cheese mix into the beaten egg whites a bit at a time and fold the egg whites in or just pour everything into the middle of the egg whites, the cream cheese mix will sink to the bottom and then you can fold the beaten egg whites.
8. Pour into your chosen mould and place in the oven, bain marie, during approx. 55 minutes. Check whether it is cooked by inserting a skewer in the middle, if it comes out mostly clean, it's ready to come out.
9. Let it cool down first in the mould, it will shrink a bit and make it easy to remove. Then let it cool down. Once it has cooled down, place icing sugar on a small sieve and shake it to sprinkle the cake with it. Enjoy at room temperature or slightly chilled.
4


Leave a Reply