
How to avoid the Instant Pot Burn error (the right way!)
You may never have got a Burn error on your Instant Pot but you probably have heard about it, right?
Or perhaps you get it regularly!
From adding enough (but not too much) liquid to checking the sealing ring.
Develop the following habits and they soon will be second nature and you'll never get a Burn notice again!

Now, I'm just going to address the elephant in the room head on, the Burn error is totally your fault!
And you know what the beauty of that is?
You can totally fix it so that it never ever happens again (well, until you have an absent-minded day, but that happens to the best of us!).
PRESSURE COOKER MYTH
The Burn notice only happens in the Instant Pot!
False.
Stove-top pressure cookers may not display a Burn or OUHT or whatever your pressure cooker says but they sure do burn if you don't get these things right!
Other electric pressure cookers have the same, it's just that instead of flashing it on the screen, it may be written all over the bottom of your inner pot when you finish dishing up, when you realise your food has literally burned to the bottom.
So, what makes the Burn word more alarming when it's on the display of our Instant Pot?
Well, quite possibly the fact that it beeps to let us know and it halts cooking.
It stops cooking because otherwise it's going to keep burning to the bottom and you're going to end up with a bigger mess.
How handy is that??
So what can you do to avoid the Burn error in the first place?
1. Add enough liquid
This is THE golden rule of pressure cooking.
Why is liquid necessary?
Pressure cooking is all about generating steam.
To generate steam you need liquid. Steam is what happens when we heat up a liquid.
It's the steam inside the cooker that is going to make the float valve pop up.
The float valve going up is what indicates that your cooker is at pressure.
When the float valve goes up, the pressure cooking countdown can start.
This applies to both manual pressure cookers where you have to time the pressure cooking time yourself, and electric pressure cookers, which time the pressure cooking time on their own.
If you don't have enough liquid, your pressure cooker can't generate enough steam to make the float valve do its job of "floating up and staying up".
But also, if you don't have enough liquid, things will burn to the bottom. Just like with anything you cook in a pan on the hob.
So get in the habit of adding 250 ml of water.
There are exceptions to this, of course, for example:
- soups need a bigger water to ingredients ratio
- rice, pasta and pulses absorb liquid
Tip: in a pressure cooker there is no need to cover your stew totally in water. There is hardly any evaporation in pressure cooking so you'll end up with soup otherwise
2. Deglaze after sautéing / browning
Deglazing means scraping the bottom of a pot with a wooden spoon to remove any caramelised or burnt-on bits.
Why is deglazing necessary?
Things can catch when sautéing so get in the habit of deglazing just before closing the lid.
When the meal you are cooking starts to burn to the bottom of the inner pot, the sensors get triggered in an electric pressure cooker.
But deglazing is important in any type of pressure cooker, multicooker, slow cooker or even just in cooking in general!
It's a bit of a snowball otherwise, once it starts catching at the bottom, it just seems to keep on catching, doesn't it?
It's like when you start your day badly by putting a rip on your favourite top after catching it on a door handle, things just keep on going downhill after that! Will you remember that as a comparison and always deglaze?
Bonus: deglazing adds flavour!
Didn't sauté? No need to deglaze.
3. Think about your ingredients
Okay, so we have learned that we need enough liquid.
That said, different ingredients behave in different ways, don't they?
- Some ingredients release liquid
- Some ingredients absorb liquid
- Some ingredients need a specific liquid to ingredient ratio
- Some ingredients cause BURN
Let's look at them in-depth and we're going to start right at the bottom and build it up because that's exactly how we want to think of our pressure cooking too:
- Ingredients that release liquid: chicken, mushrooms, courgettes, etc. They release so much liquid that often you can get away without adding any liquid as is the case of my Baharat Chicken and Garlic Mushrooms.
- Ingredients that absorb liquid: like potatoes.
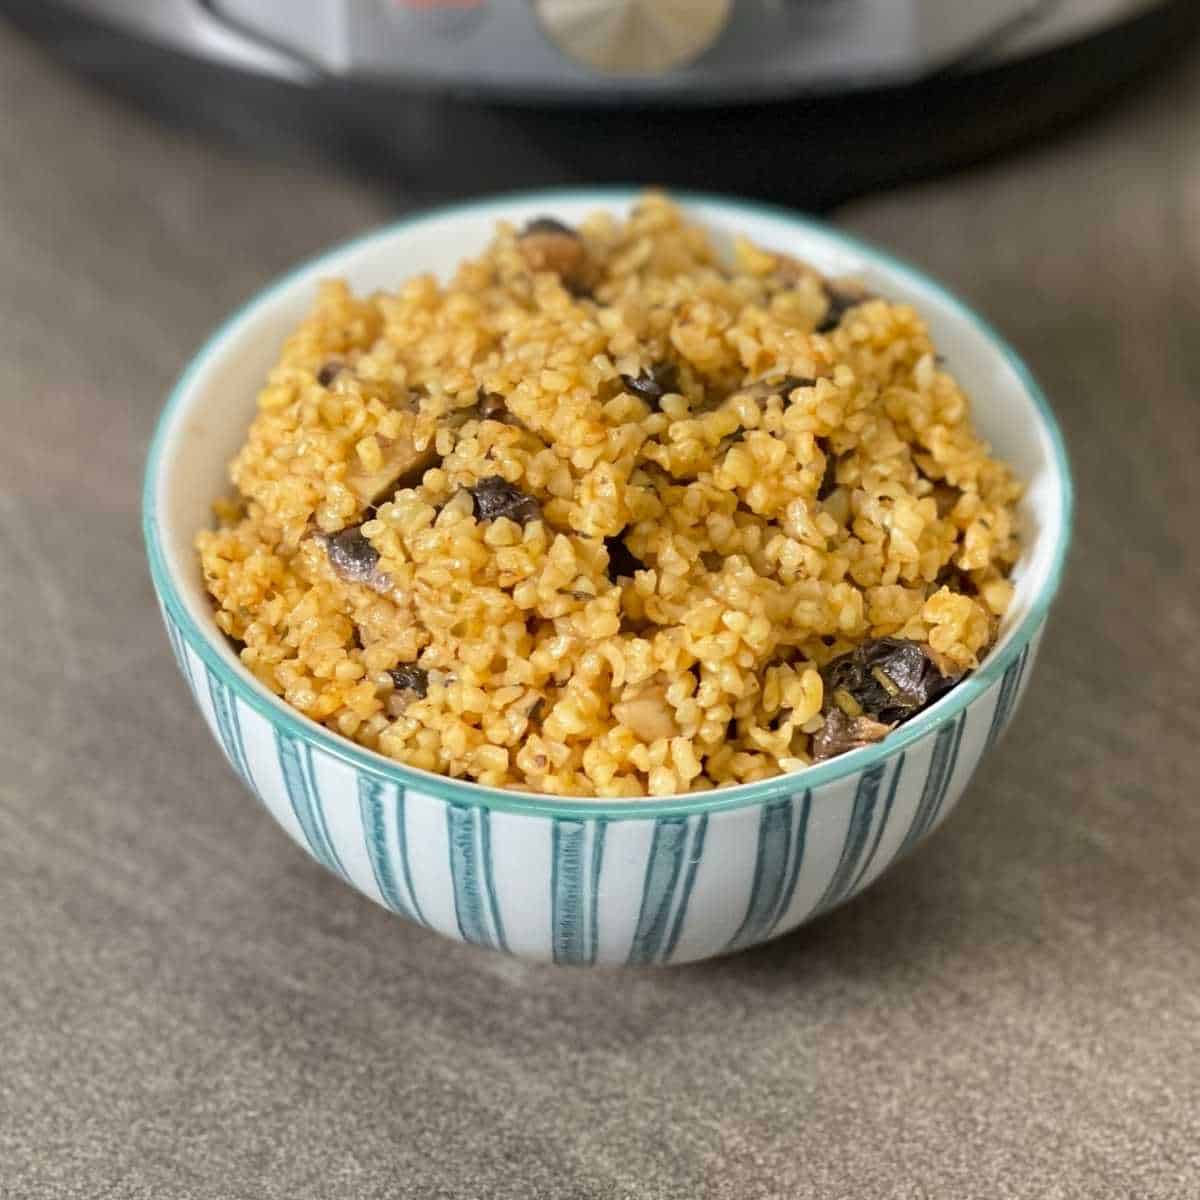
- Ingredients that absorb liquid AND need a specific liquid to ingredient ratio: rice, pasta, pulses, barley, bulgur wheat, etc. In this case, you need to add extra water, often using a weight to water ratio as I do in risottos and pastas.
- Ingredients that cause the Burn notice because they're naughty: tomatoes (due to their sugar content), ingredients high in sugar like ready-made jars of sauces like Dolmio etc, flour.
Let's look at these last ones more in-depth.
Ingredients that are a surefire way of getting the Burn warning
- Tomatoes (fresh or tinned and tomato purée / paste, Passata, tomato sauce)
- Ingredients that are high in sugar content (like fruit, ready-made sauces (think Dolmio and the like), spice mixes that contain sugar, etc)
- Flour
So, how can you pressure cook with this type of ingredient?
How to pressure cook with tomatoes
A lot of people place the tomatoes (fresh, tinned / canned, purée, paste, etc.) on top just before closing the lid.
I personally don't.
Why?
Other than I am a daredevil?
Well, I follow all the other habits in this article. In fact, I don't even follow them anymore, they are second nature to me.
Make sure that:
- You have deglazed thoroughly
- You have enough liquid
- Your sealing ring is in place properly (and in good shape)
- the rim of your cooker is free of debris
THEN I don't have to worry about stirring my tomatoes!
Note: keep reading for those last two tips, they're super important and coming up below
How to thicken sauces in a pressure cooker if you can't use flour
Flour can easily burn to the bottom of the cooker.
Don't dust your meat with flour before sautéing / pressure cooking
Don't add flour until AFTER pressure cooking.
You can still thicken your sauce after pressure cooking, of course!!
That said, I myself don't like adding flour or thickening agents to my dishes, I think it makes them gloopy and my tastebuds don't like it.
In fact, I like to add NOTHING.
To thicken your sauce after pressure cooking all you have to do is remove the lid, add the flour or thickening agents and put on Sauté. Keep the lid off so that there is some evaporation and the sauce can reduce.
But my favourite thing to use instead of flour?
A ladle!
Yep, you read that right. I grab my nearest ladle, submerge it in the liquid and drain the liquid out that way but I do reserve the liquid, read my thrifty tip below to find out why.
Putting your cooker on Sauté and leaving the lid off, as explained above, will help make the extra liquid bubble to the surface and it'll be easier to fill the ladle that way. Plus it will help the sauce reduce will you do this.
How to use a ladle to reduce the liquid
Dip the ladle into the sauce or excess liquid and scoop it out. Reserve that liquid in a bowl.
I find the best place to start is with the outer edge of the ladle against the outer wall of the pot, this gives you something to press against and plenty of room for your hand to manoeuvre as the handle is kept well away from the wall of the pot.
Then keep moving around the wall of the pot, I tend to go to the middle too if I see there are any "puddles" forming.
With the ladle facing the outer wall of the pot face the wall of the pot and the outer edge of the ladle will be right against the wall of the cooker and lower the ladle gently into the food.
Tip: if your inner pot is non-stick, for example the Ninja Foodi 9 in 1, 14 in 1, 15 in 1, etc, make sure your ladle is NOT stainless still, we don't want to scratch the non-stick
Depending on how much liquid there is, the ladle will fill faster or more slowly.
For example, in the case of bolognese, you're going to find more resistance as you remove liquid, keep moving the ladle around, dipping it into different sections.
Then give the sauce a stir and start again. This also helps you check if it has actually already reached the thickness you want.
How to thicken pressure cooked tomato sauces
I use the ladle trick and also tomato purée, the perfect example is my Easy BBQ Pulled Pork recipe.
Thrifty tip: Save the liquid you remove, freeze it even (either as a block or in ice cubes), it is full of flavour from cooking and you can add
There are so many ways to thicken sauces than just flour.
Other ways are:
- Ground cashew nuts
- Ground red lentils
- Whole lentils (green or red), the lentils will absorb liquid and also bulk up your dish
Tip: if you use flour or floury ingredients (like potatoes) to thicken your sauces regularly), use the white vinegar clean trick as an invisible layer can develop that can trick and trigger the sensors into a Burn warning.
In fact, get in the habit of doing a regular deep clean and your pressure cooker will thank you for it with delicious dishes and minimum hassle.
4. The sealing ring must be in place correctly
In fact, it must be really be in place full stop.
I'm the first time to admit that more than once I have started pressure cooking only to spot the sealing ring on the draining board a few minutes later
BUT and this is where a lot of people tell me, "yeah yeah the sealing ring was in place", the sealing ring must be in place PROPERLY.
Two reasons for this and they're both closely linked to the fact that the job of the sealing ring is to expand under pressure to create the seal that allows pressure cooking to happen.
Pressure cooking happens in a sealed chamber, i.e. your cooker is sealed, no steam can escape and this means it can cook at a sustained higher temperature and therefore cook faster.
If the sealing ring is not in place properly when it starts to expand:
- Too much steam will leak out while (trying to) reach pressure, the cooker will run out of liquid and it will lead to burning
- A badly seated sealing ring can dislodge, if this happens you may find yourself unable to open the cooker at the end of pressure cooking time (guess how I found this one out!). The solution to this is having to let the cooker cool down so that the sealing ring can also cool down which helps it contract, then press down hard on the lid and very gently try to twist it open. Trust me, it's no fun when you're hungry and it can take hours!
Tip: Your sealing ring works hard! Treat it nicely. Never yank it out, pull it out little by little following its circumference. A stretched sealing ring will fit badly in its rack and expand badly too, creating issues

5. Check the rim of the cooker for debris (and keep it clean!)
A grain of rice, a bit of pasta, a stray lentil… all can contribute to the Burn warning.
Why?
Because, to reach pressure, the sealing ring expands into the rim of the cooker.
If the sealing ring can't expand properly and/or finds "obstacles", gaps are left that mean steam can escape.
If steam can escape, too much
Basically, you want your pressure cooker to reach pressure without losing extra steam.
It's a bit like reaching the Finish line without running out of steam if you're a runner or an athlete… If you run out of steam, you don't finish the race.
Without enough steam trapped inside, the float valve can't stay up and your pressure cooker can't reach pressure.
It's all sounding a bit filthy now, a bit like that rim of yours (of your cooker I mean). Now, go clean it! How? Here's a handy video.
And, on that note, here the last one!
6. Regular deep cleans
And I have just the video you need!

7. Tried-and-tested recipes that avoid the Burn notice!
- Instant Pot Baharat Chicken
- Pressure Cooker Garlic Mushrooms (Spanish Setas al Ajillo)
- Easy Instant Pot BBQ Pulled Pork
- Pressure Cooker Beef Stew with Dumplings
8. One last one, if cooking PIP, you must add water to the inner pot
PIP (pot in pot) cooking means cooking something in a solid pot inside the (inner) pot of the pressure cooker.
As pressure cooking relies on steam, you need to add water to the main pot / pressure cooker before doing so!
What would you add Feisties?


Leave a Reply