
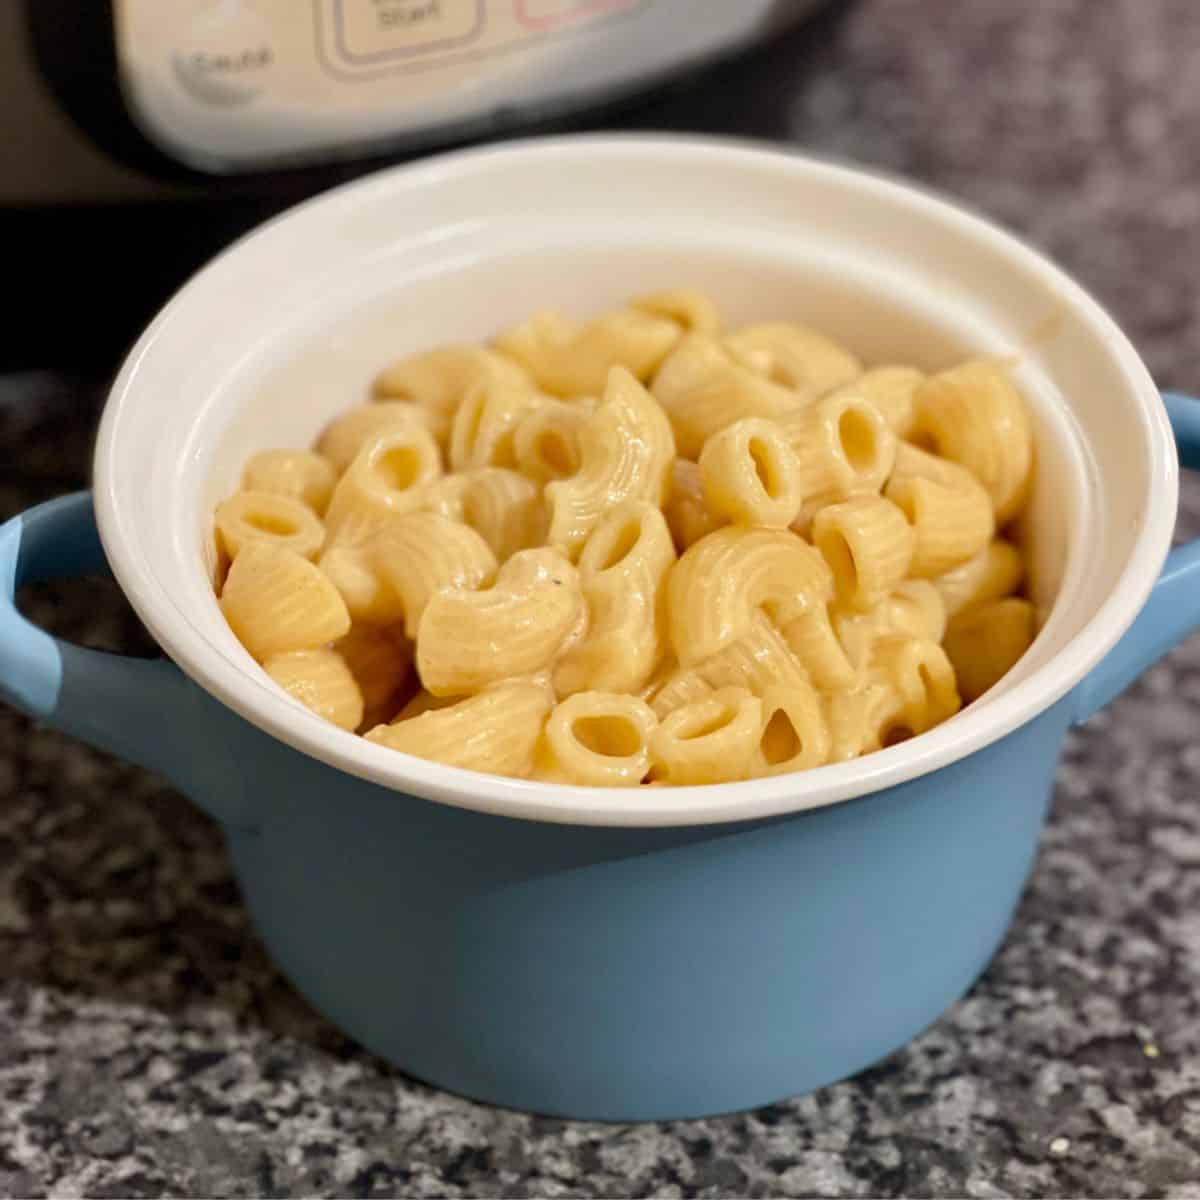
An Instant Pot Classic! Jayson's Pressure Cooked Mac and Cheese includes Instant Pot instructions and is perfect for beginners in fact!
The eponymous Jayson of Jayson's Instant Pot Pressure Cooked Mac and Cheese is a lovely member of the Feisty Tapas community.
A member of both my Facebook groups (Pressure Cooking UK with Feisty Tapas and Thermo Cooking UK with Feisty Tapas), he is the Master of all Gadgets.
Jump to:
He is in fact one of the peeps who first introduced us to the Instant Pot by regularly mentioning it in the Thermo Cooking group.
I make Jayson's Macaroni Cheese in the Instant Pot DUO 7 in 1 as that is the pressure cooker I have but you can adapt it to any pressure cooker really.
This Mac and Cheese is really really good and so so easy to make, you won't believe just how easy in fact. He is American so he clearly knows his Mac and Cheese!
I have made it many times as so have many of you and I have added my tips and UK measurements as his recipe was in cups.
Jayson says: It works every time. You don't need to use stock, you can just use water as long as it's 3 cups! The paprika can be left out or replaced with wasabi! Which is also good!!
If you think it makes too much: first wait until you taste it, then think that you can freeze it in portions and reheat on the stove if you add a little milk.
By the way, you can find all my Instant Pot / pressure cooker recipes right here.
📖 Recipe

Jayson's Pressure Cooked Mac and Cheese (includes Instant Pot instructions)
Equipment
- 1 Pressure Cooker
Ingredients
- 3 cups macaroni 390 g
- 2 cups chicken stock 500 ml
- 1 cup milk 250 ml
- 2 tablespoons unsalted butter 35 g
- 1 teaspoon mustard of choice optional
- ½ teaspoon smoked paprika
- ½ teaspoon garlic minced/crushed
- ¼ teaspoon sea salt optional, I personally don't add it as it becomes too salty for the Tapas' family taste
- 3 tablespoons grated Parmesan cheese 30 g
- 2 cups grated cheese 195 g (I use mature cheddar)
- ½ cup cream cheese 115 g
Instructions
- Place macaroni, chicken stock, milk, butter, mustard, paprika, garlic and salt (if using) in the inner pot and mix well.
- Pressure cook 5 minutes, high pressure, wait a few seconds for things to settle down inside and do a quick release (in conventional pressure cooker: 5 minutes on high pressure once it starts whistling followed by a quick release). The wait is because pasta foams up and it can splatter when you quick release, believe it or not cheaper supermarket-own brands are better for pressure cooking so save your pennies. Some people place a tea towel over the lid just in case it splatters when quick releasing pasta just in case it splatters but this is NOT a recommended practice, I tend to let it settle down inside first, 30 seconds-one minute. The other thing you can do is a gradual quick release, start letting the steam out after the resting time, if it splatters then close the vent again, then try again after a little while. Another trick is to cook it for 4 minutes and let it have about 3-4 minutes natural release, way less splatter that way too. This applies to any pasta dishes you cook in your Instant Pot.
- When finished: mix in grated cheese, grated Parmesan, and cream cheese until all combined! Let it sit for a couple of minutes. Serve immediately.
Notes
I couldn't find macaroni but I have fusilli, pasta twists, penne, etc, can I still make Jayson's Mac and Cheese?
Yes you can, I've seen people use all sorts of pasta shapes for this recipe.
If the shape you use is not quite cooked at the end, rest the lid on the Instant Pot again and leave it be while you get things sorted (or a break).
Pasta keeps cooking in the residual heat, just keep an eye so that it doesn't go too soft (unless you like it soft, of course!).
Jayson's Mac and Cheese is perfect for Instant Pot beginners
Because all you have to do is put all the ingredients in the Instant Pot, this recipe is perfect for beginners.
What other recipes are good for Instant Pot Beginners?
You have some other tried-and-tested recipes in the Beginners' Guide I wrote for Instant Pot UK, download it here.
And here is a list of my own recipes that are perfect for Instant Pot beginners:
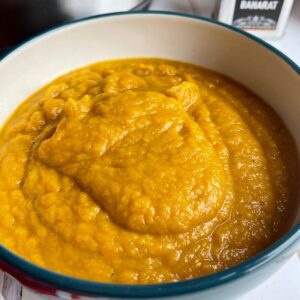
- Risotto
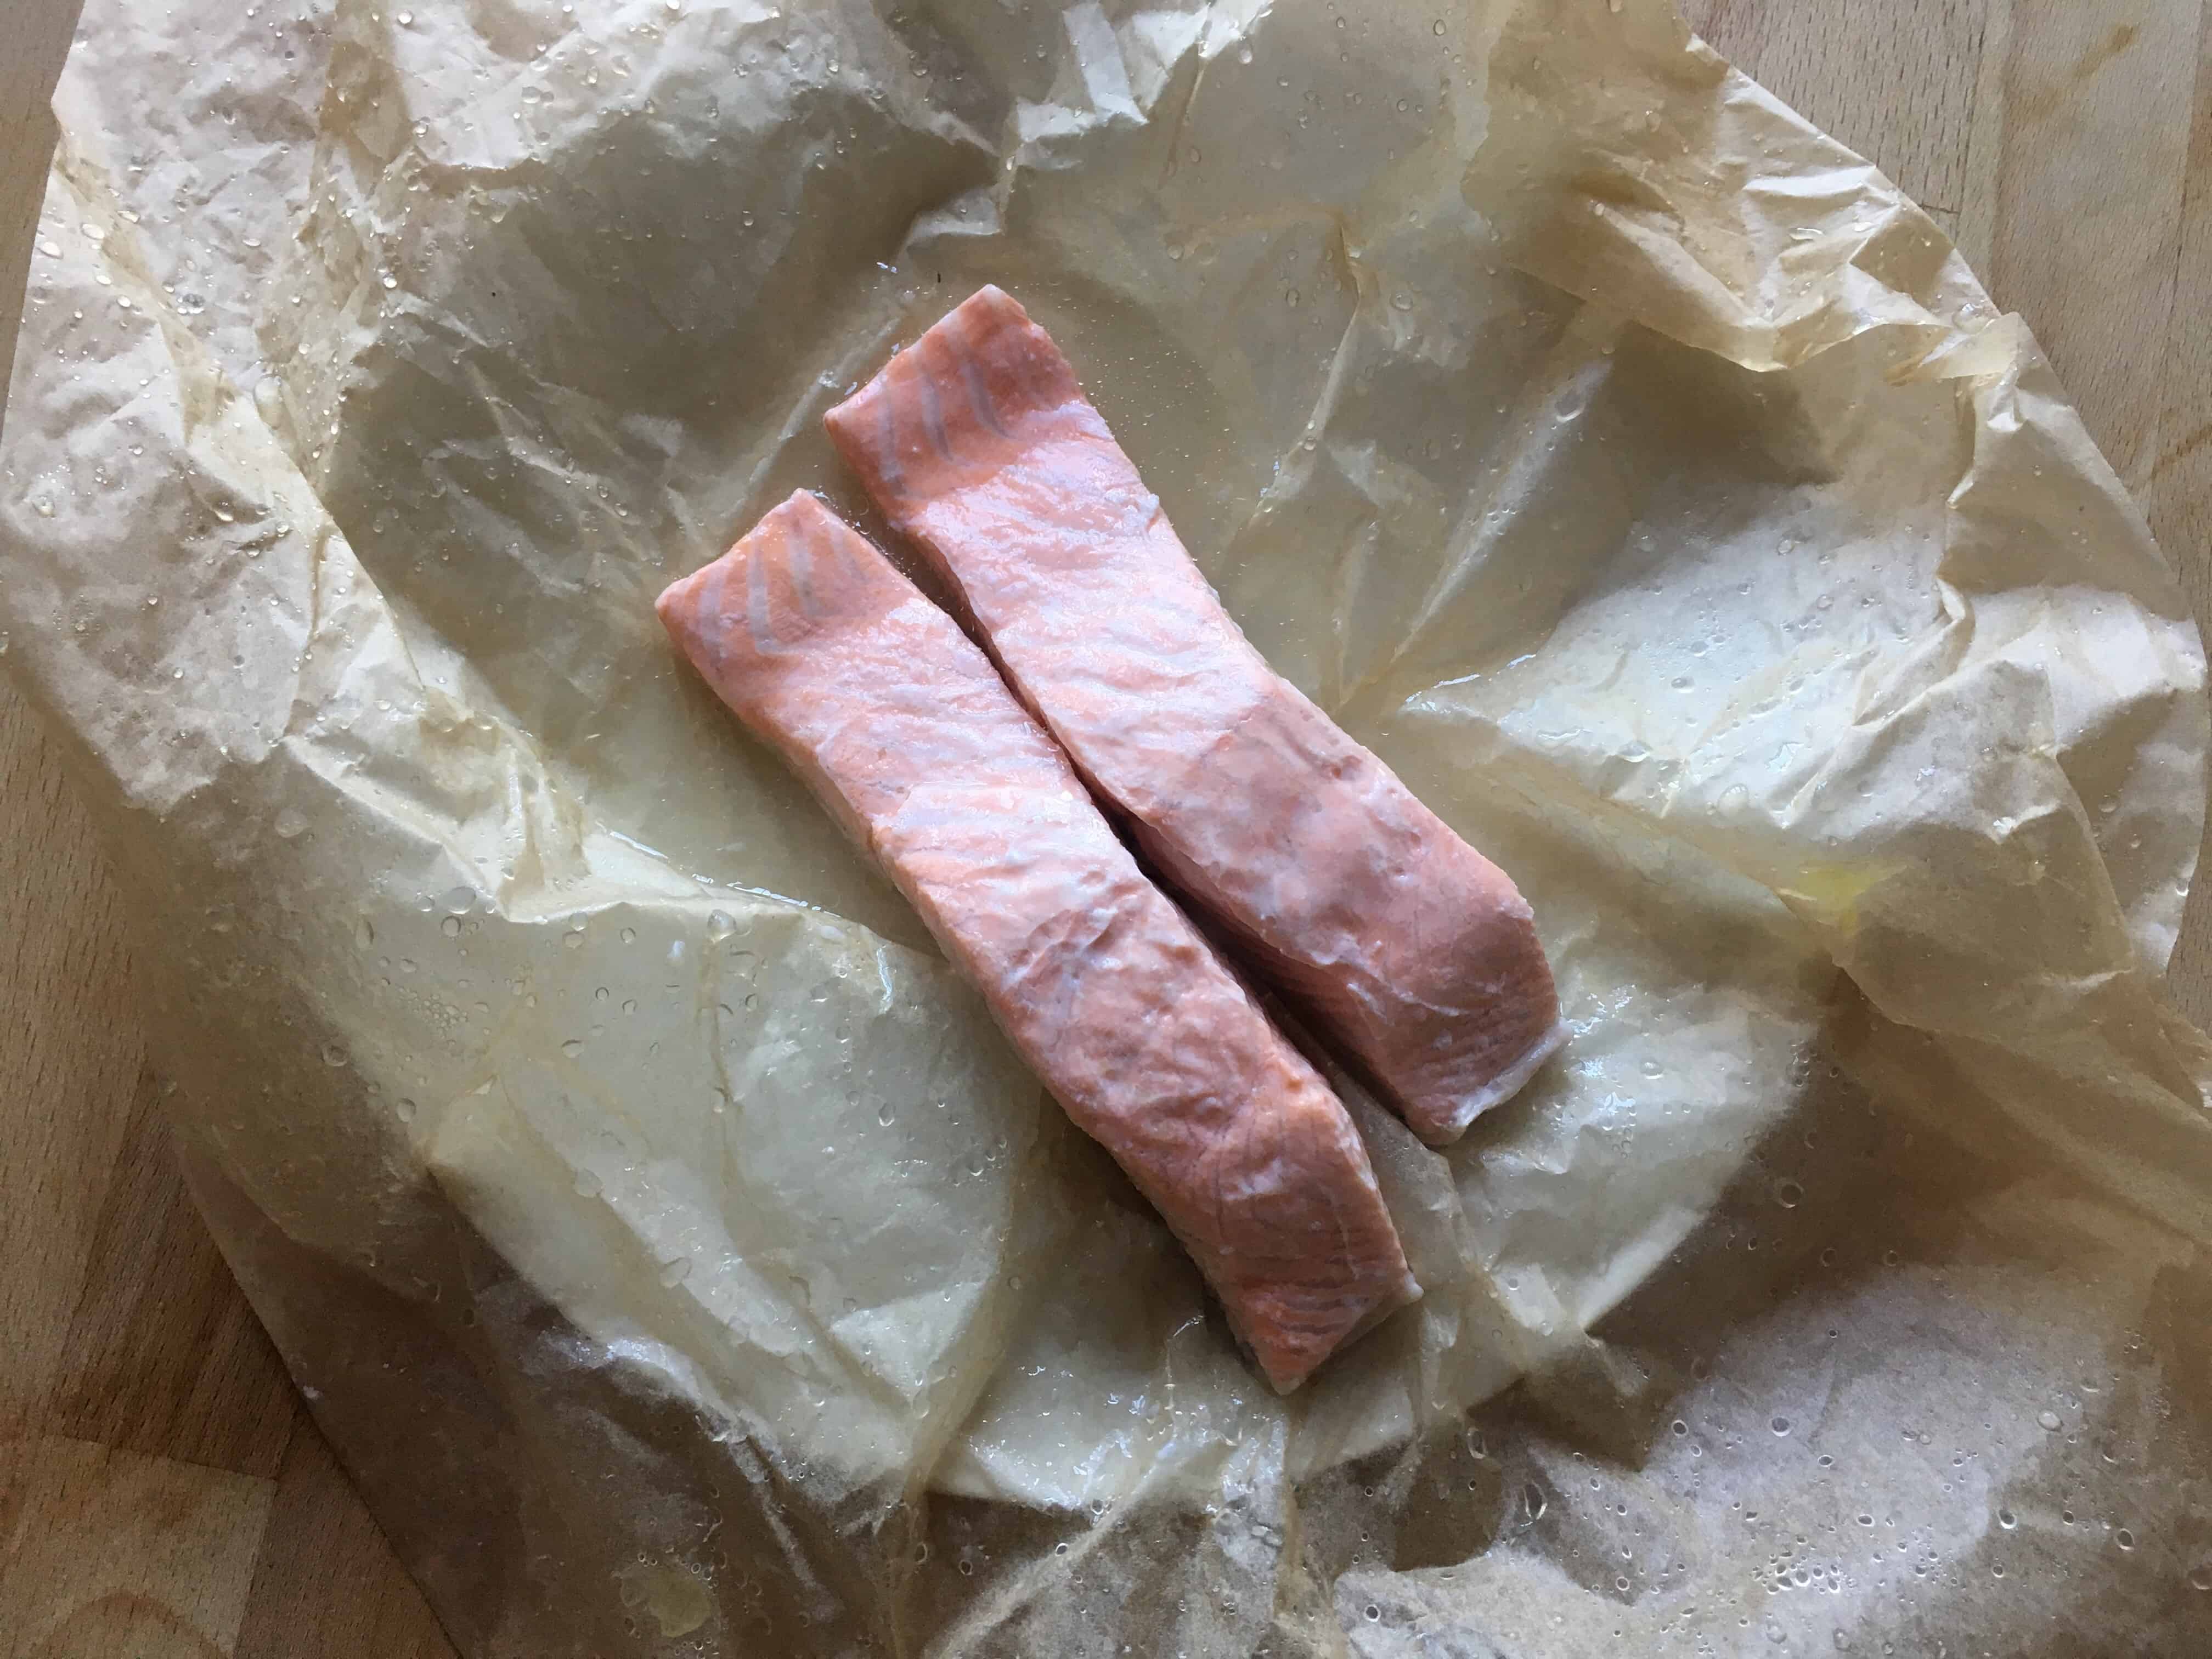
- How to cook FISH in the Instant Pot
- Fish Stew
- Sausage Pasta
- Pulled Pork (which is perfect to go with this Mac and Cheese)
- Zero Minute Chicken
- Corn on the Cob (with video)
Worth checking any of my other pressure cooked Pasta Recipes too.
Make sure you also check out How to get started with your Instant Pot. A guide for beginners
Let me know if you try it, you can find me in my Pressure Cooking Facebook group or in my Facebook page of course.


Lucy Mars says
This recipe is requested in our house at least once a fortnight. It’s so easy and tasty. I often use up odds and ends of cheese from the cheeseboard after a dinner party in this recipe.
It’s also a good one to get ready we’ll ahead of time, then just add the pasta to everything else and cook it. So tasty!
Quick and easy!
Jan Richards says
This is so easy and so tasty!
Lesley Walton says
Deliciously naughty! First time making mac and cheese ever!! Will definitely make it again. Couldn’t find macaroni so used Agnesi Pasta instead ( I had never heard of that pasta but it was delicious ). Relative newby to Insta pot so this was a great confidence boost for me
Kirrin says
Can’t believe it has taken me so long to try this! I did a half batch PIP, it was in Pyrex so I cooked it a bit longer but it worked perfectly.
megan Maxwell says
Tried and tested favourite. I do the 4 mins then leave for about 2 before releasing. I actually only use the cheddar, cream cheese and chicken stock with occasional garlic and paprika as it tastes great like that too - I used to use the milk but I don't feel it changes the taste much compared to stock only and milk tends to make the lid harder to clean in my opinion. Make this often and it's easy quick and pretty cheap
MS says
Trying this later with confidence, your recipes are always spot on!! 🙏🏻
Ps. Did you know that when you scale up ingredients your equivalent weights don’t adjust?! Thought they were off when looking at doubled recipe
Maria Bravo says
I didn't know MS, thank you for letting me know. It's a setting I enabled recently and I may have either done it wrong or it may be basing on who knows what as it's automatic. I'll take a look, Maria
Veronica says
Done this a few times now, and it's fantastic! Any idea if I could add cauliflower, if so when/ how? Thanks!
Maria Bravo says
Hi Veronica, you could probably add the cauliflower from the beginning, I know a lot of people do. It depends on how soft you like it as I know some people like on the crunchier side and cauliflower cooks quite fast